


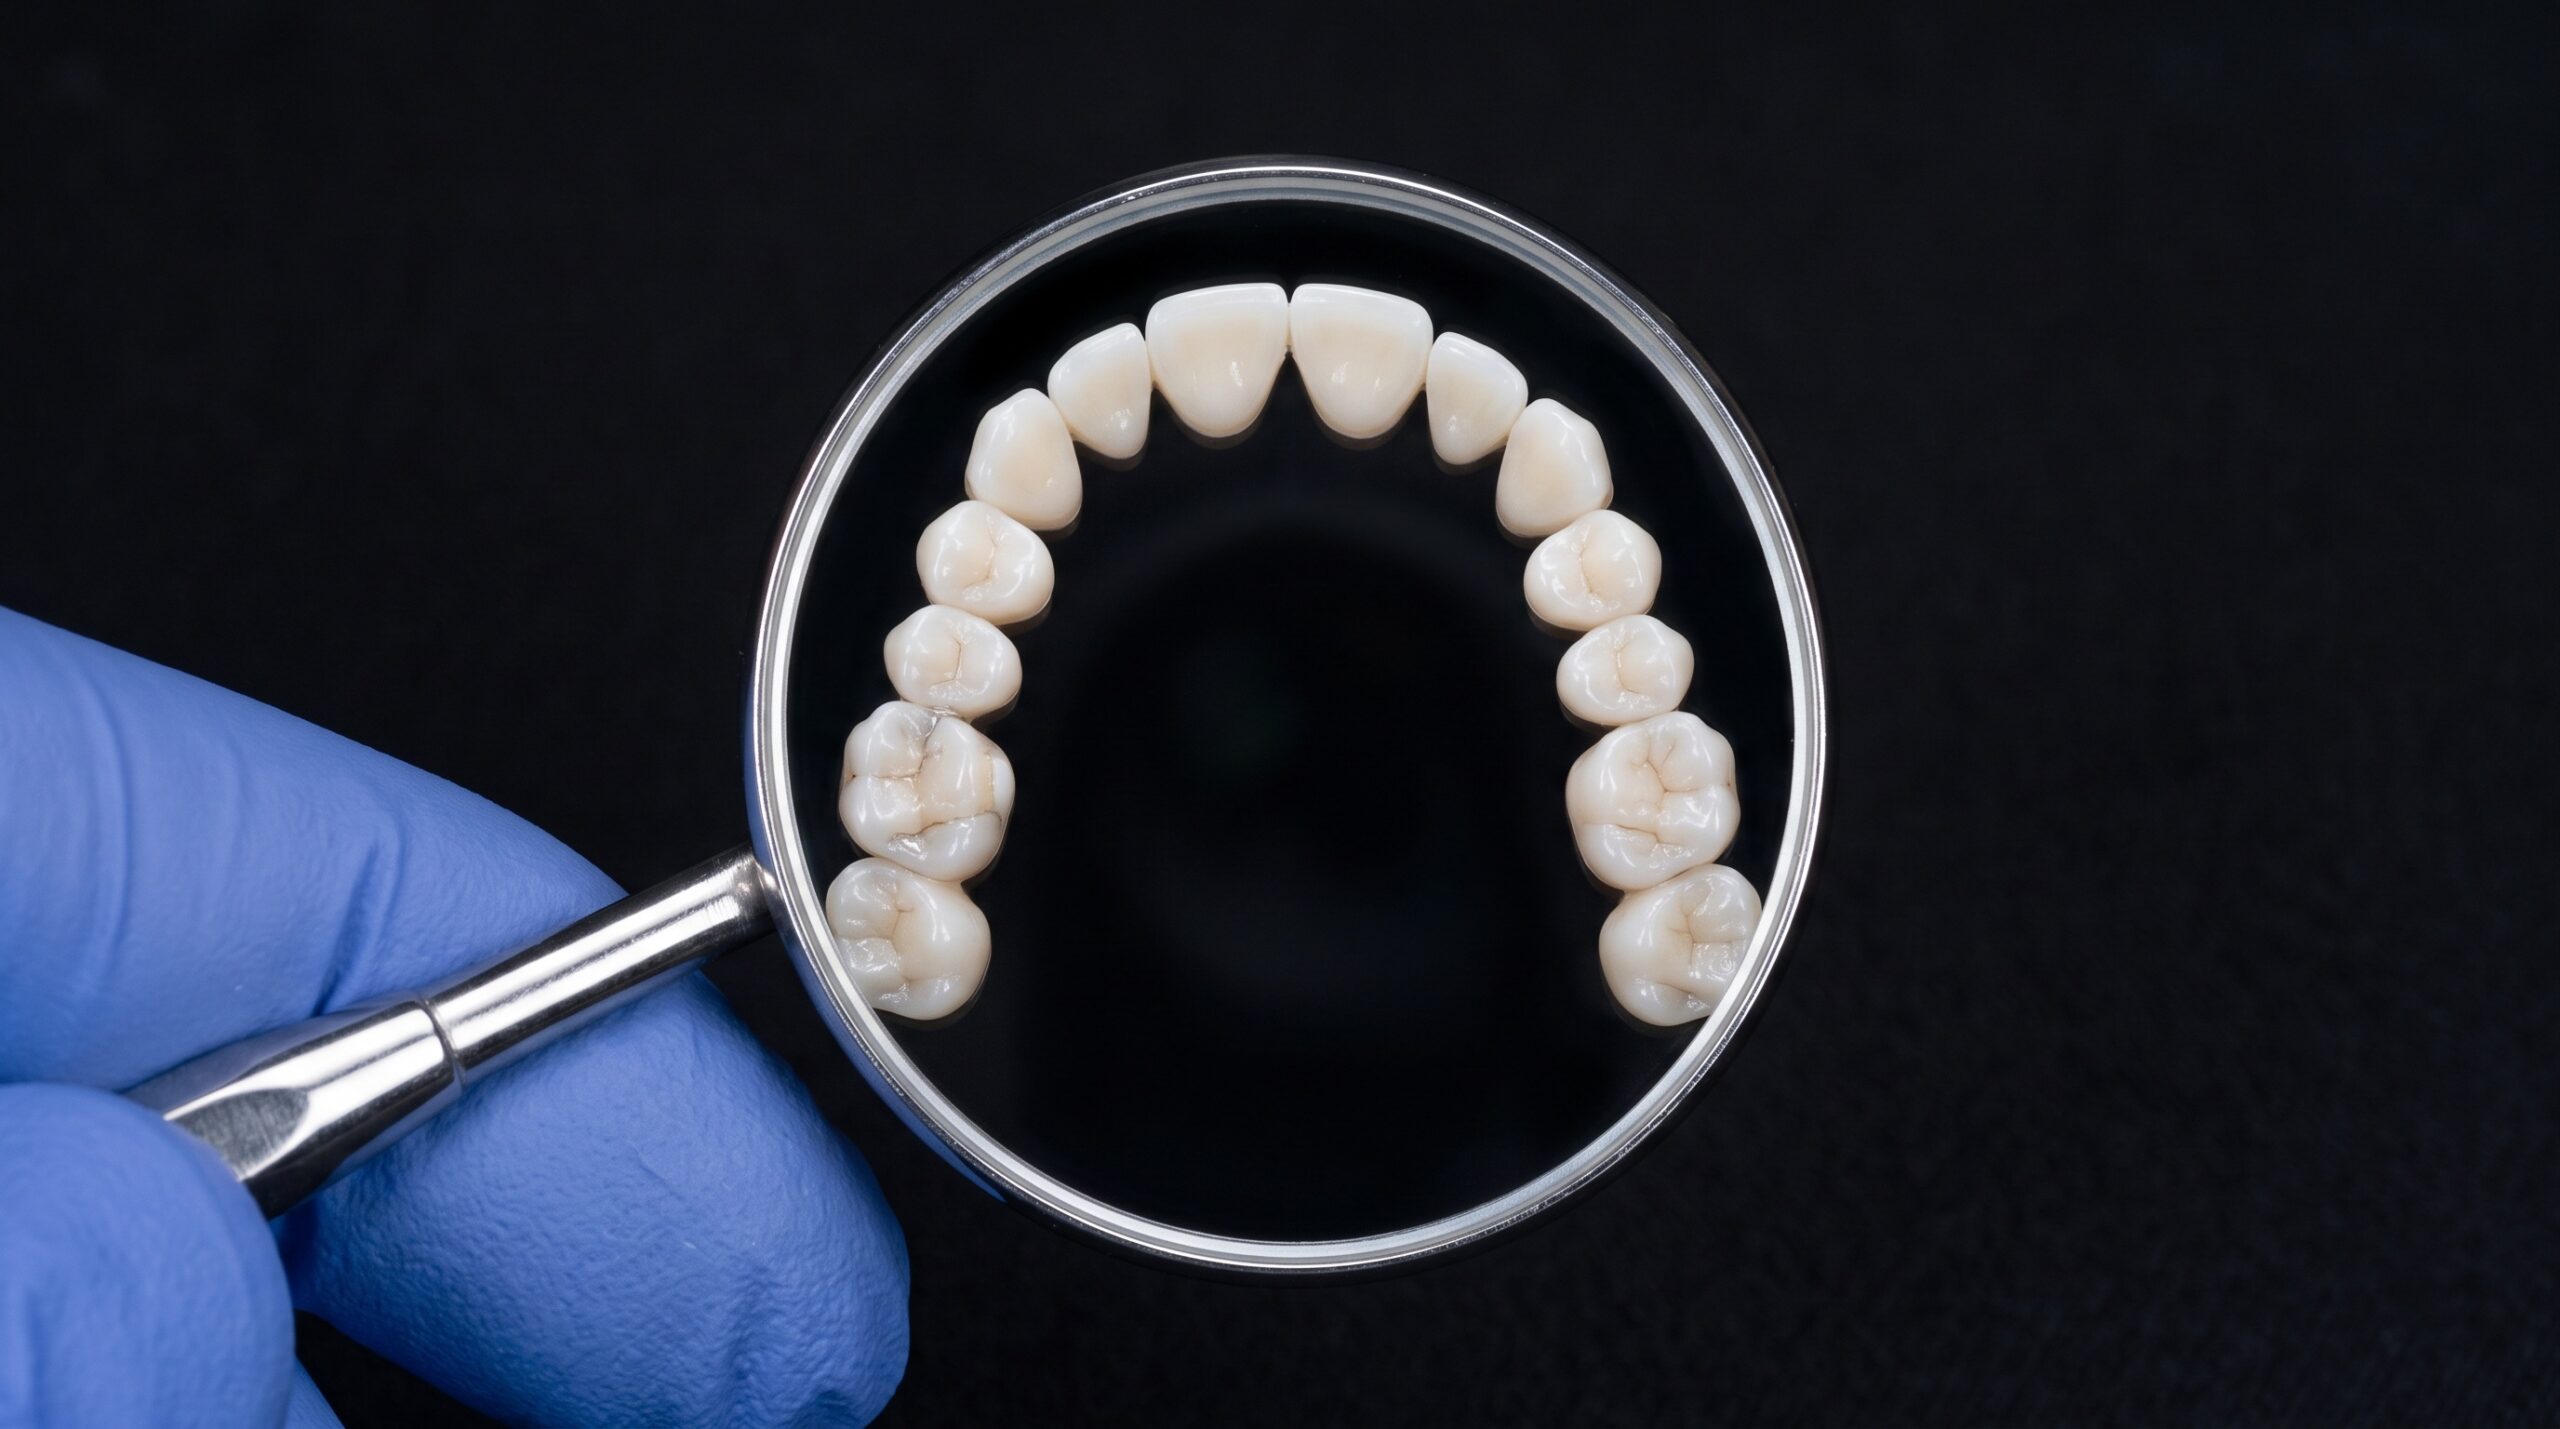
September 23, 2026 The Occlusal View: Mastering the Mirror Shot of the Biting Surfaces
Of all the standard intraoral photographs, the occlusal view humbles more clinicians than any other. The anterior retracted shot is forgiving; the buccal view is a matter of angle. But the occlusal — a whole arch seen from above, captured through a mirror — asks you to control geometry, focus, fog, and reflection all at once, in a space the size of a walnut. Get it right and you hold a flawless map of the biting surfaces. Get it wrong and you have a warped, hazy image that hides more than it shows.
This is a photograph worth treating as craft, because it carries real clinical weight: occlusal wear, cracks, restorations, and arch form all live on these surfaces. Here is how to make the occlusal view reliably, not accidentally.
Why the mirror changes everything
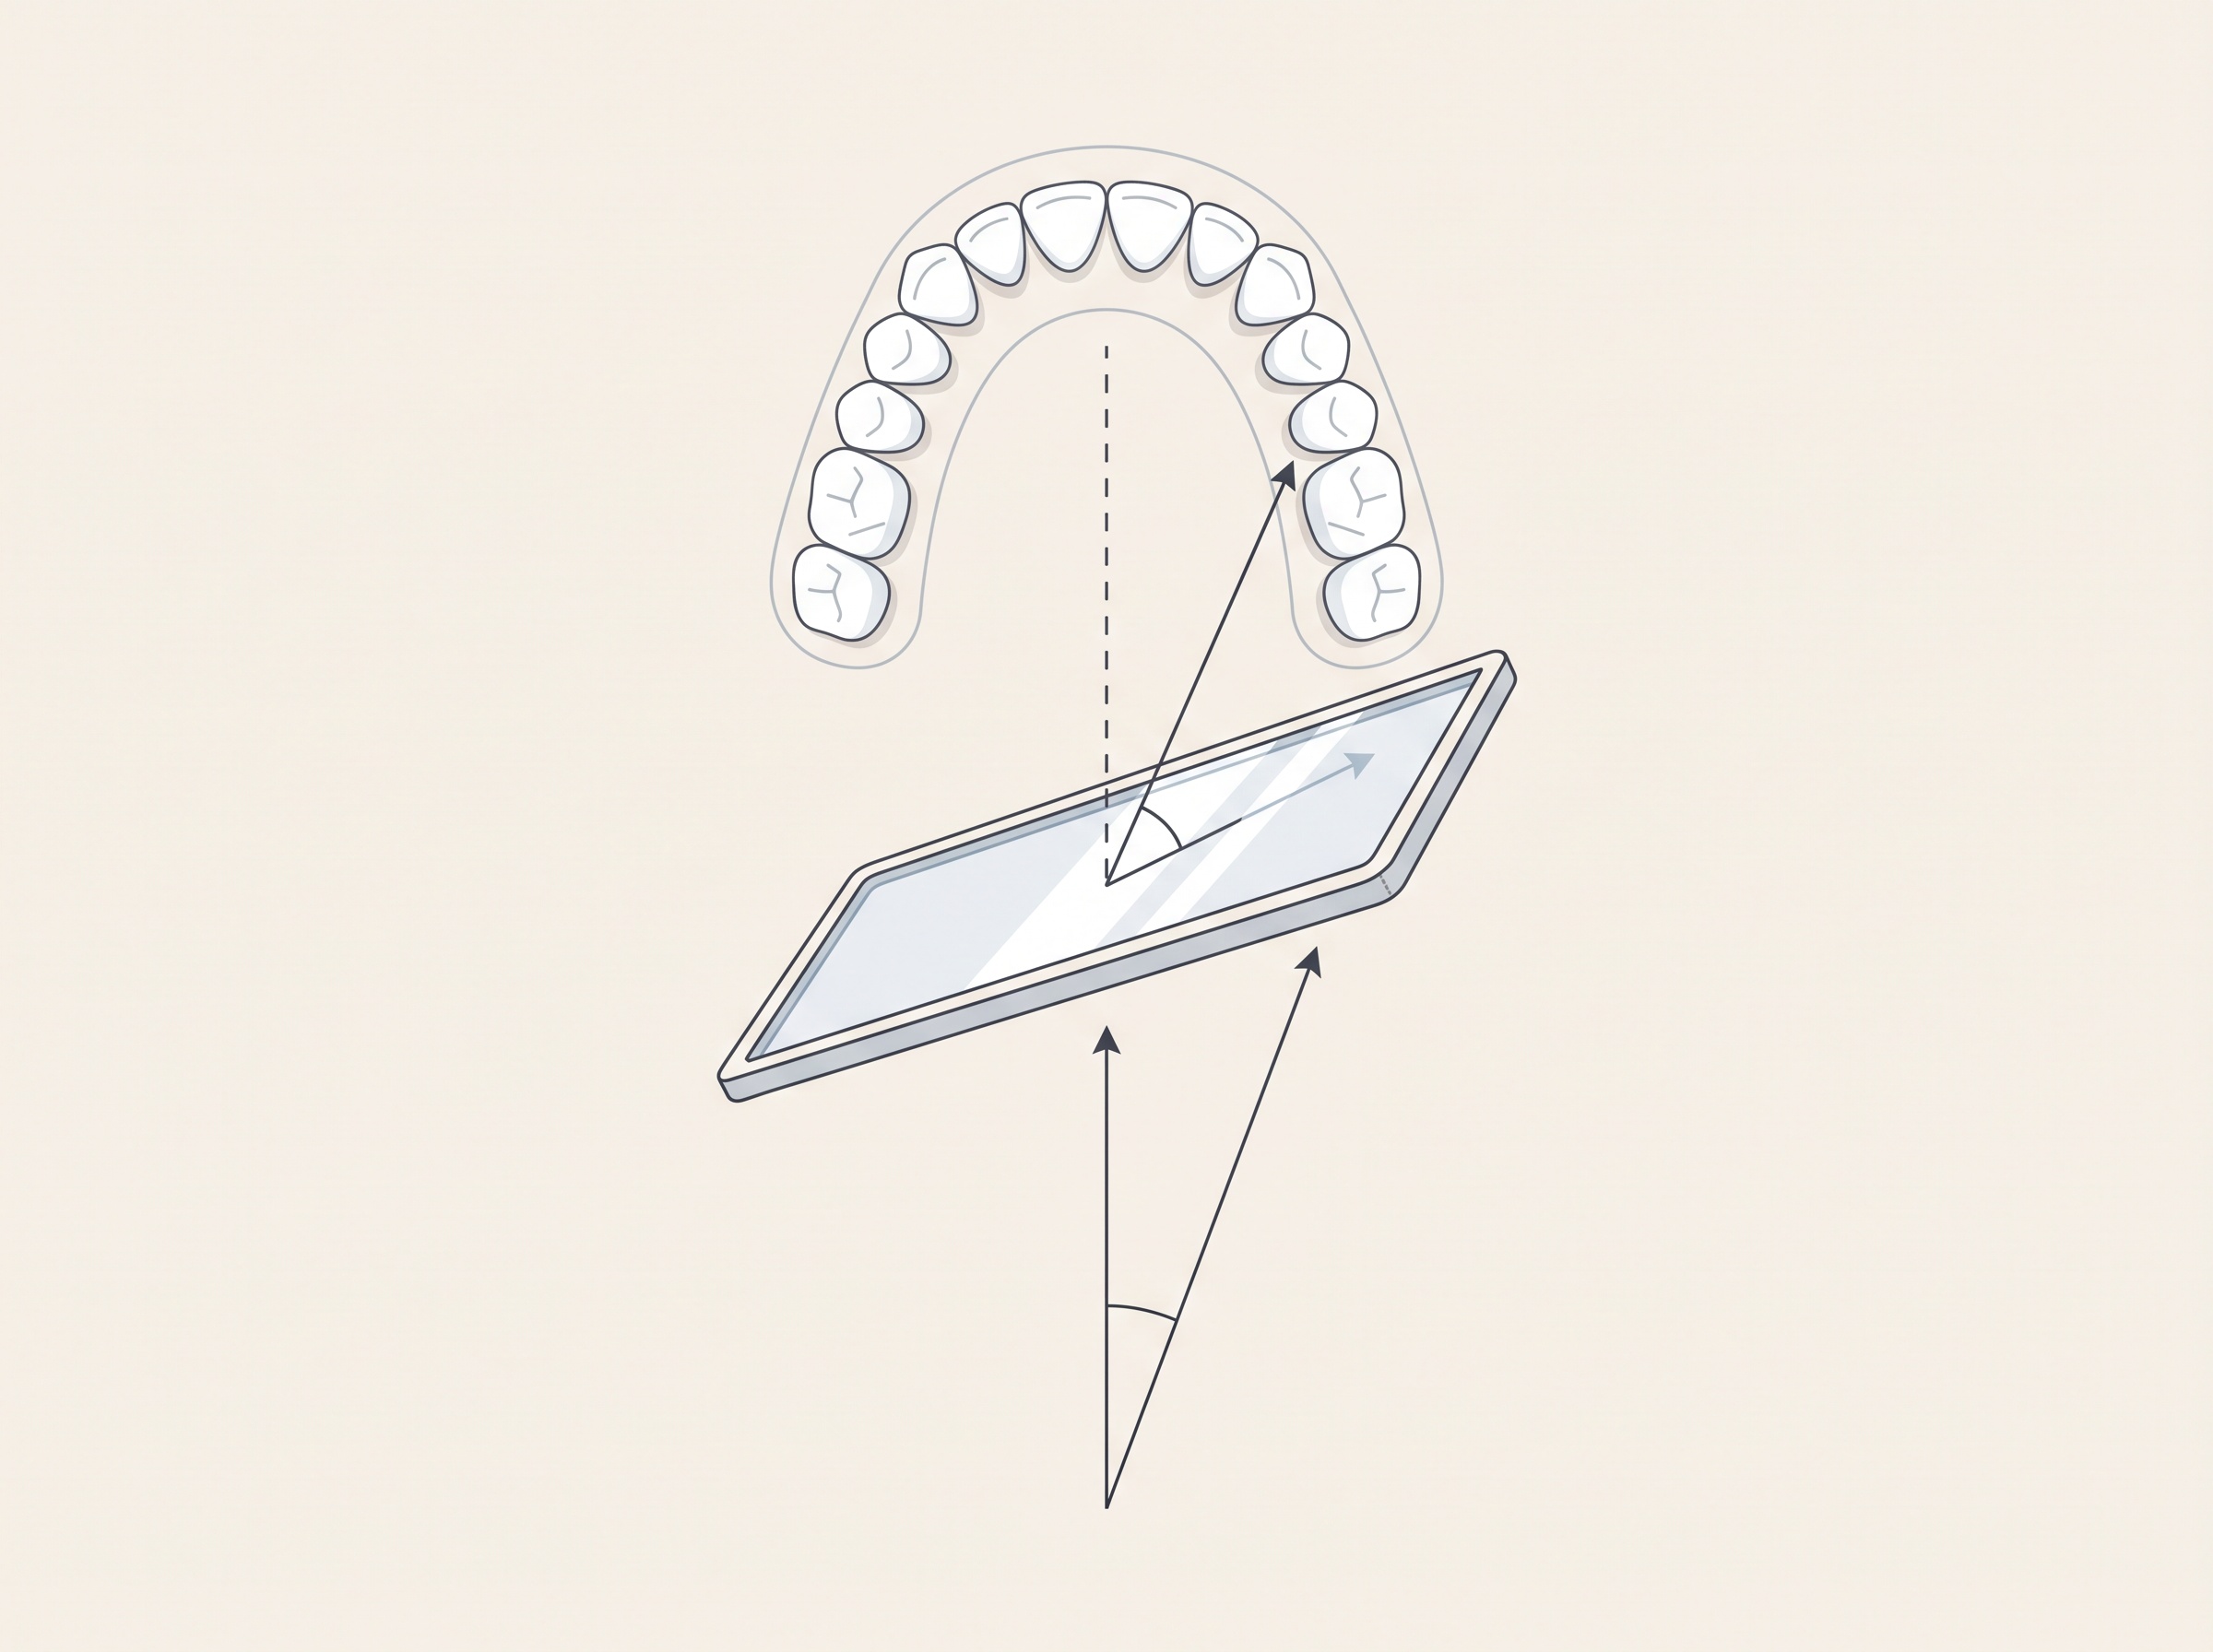
You cannot point a camera straight down into a mouth — the nose, the opposing arch, and the sheer geometry of the face make a direct occlusal shot impossible. So we borrow the oldest trick in optics: a mirror. The camera looks at the mirror, and the mirror looks at the teeth. Every decision that follows flows from that single fact.
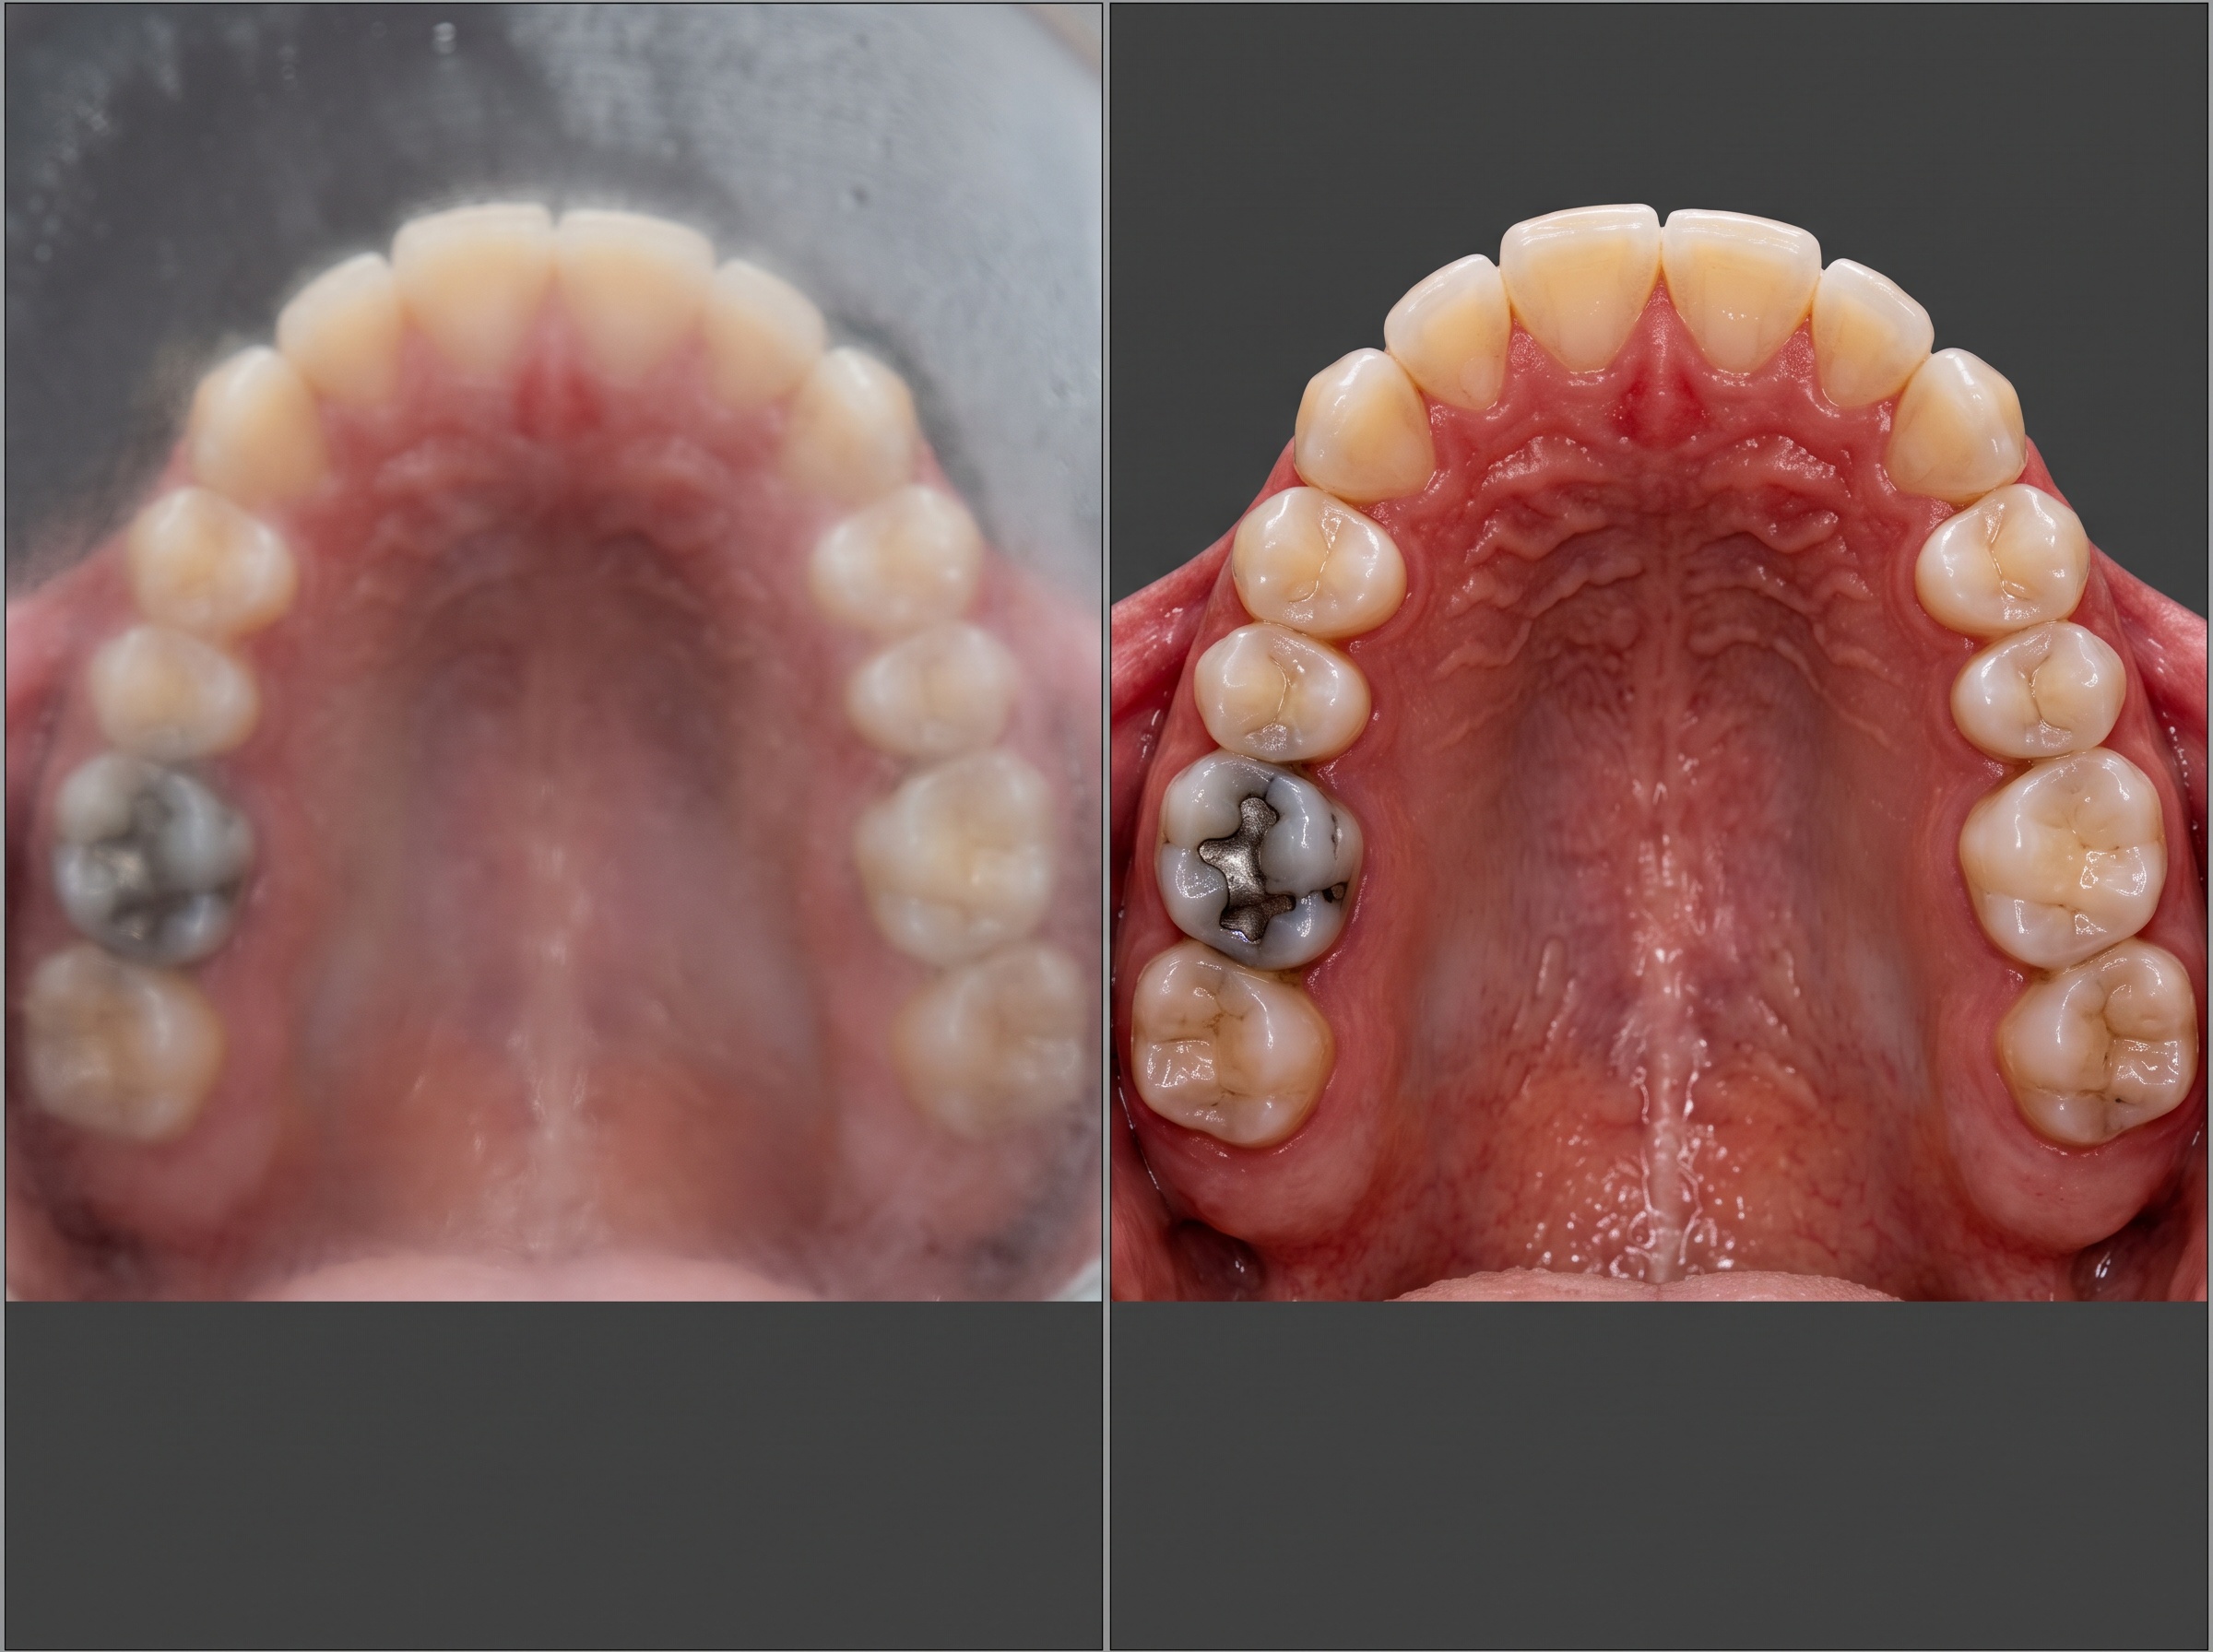
Because you are photographing a reflection, the image arrives laterally reversed, and any smudge, scratch, or water droplet on the mirror lands in the picture as sharply as the teeth do. The mirror is no longer a passive tool; it is the front element of your lens. Treat a photographic mirror with the same respect you’d give expensive glass — rhodium- or front-surface-coated, spotless, and never stacked loose in a drawer where it can scratch.
Angle the mirror, not the camera
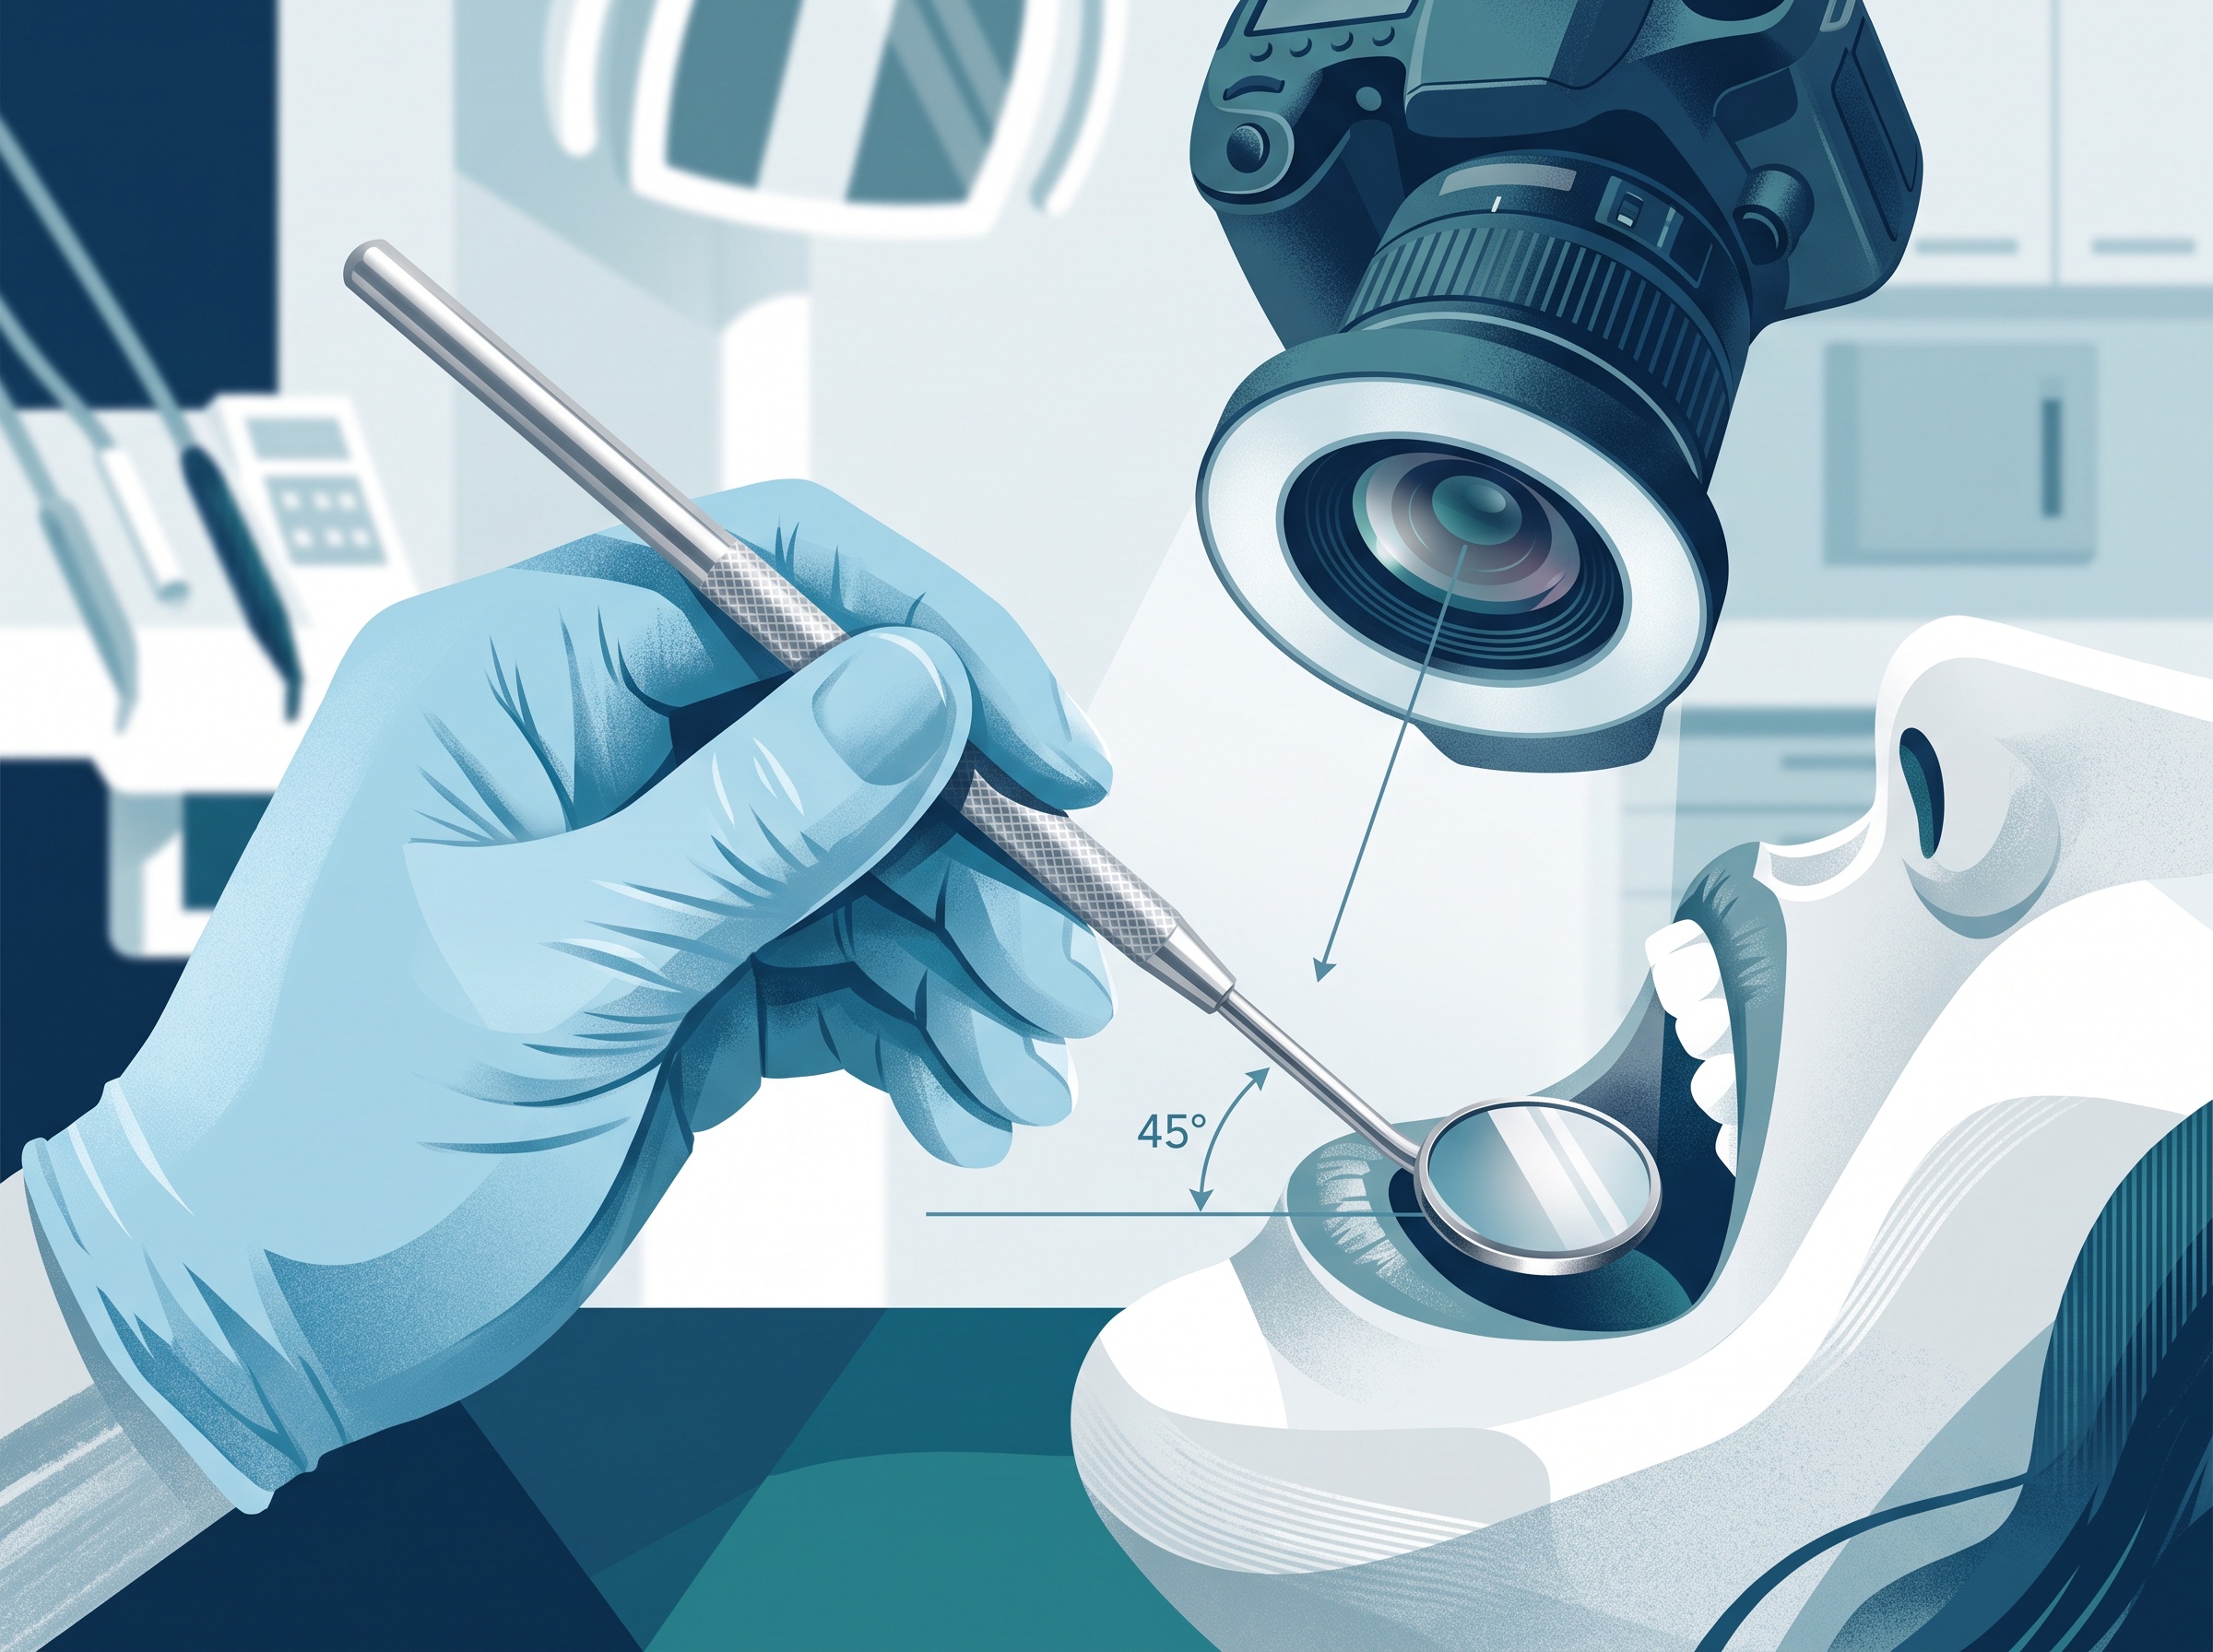
The most common mistake is trying to correct a crooked occlusal frame by tilting the camera. It never works, because the plane you’re photographing is defined by the mirror, not the sensor. The fix is counterintuitive but decisive: keep the camera’s optical axis steady and adjust the mirror’s tilt until the arch fills the frame squarely.
A mirror held at roughly 45 degrees to the occlusal plane throws the biting surfaces up toward a camera positioned above and in front of the patient. From there, small changes in mirror angle produce large changes in what you capture — too flat and you photograph mostly incisal edges; too steep and the far molars vanish into shadow. Learning to read and nudge that angle is the single skill that separates a clean occlusal view from a lucky one. The same discipline of framing and controlling the plane underpins every good intraoral shot, as we explored in composing the clinical portrait.
Beating the fog
Nothing ruins an occlusal photograph faster than condensation. The mouth is warm and humid; a room-temperature mirror fogs the instant it goes in. There are three defenses, and good clinicians use all three:
- Warm the mirror in a cup of warm water or against warm gauze just before insertion, so its surface sits above the dew point.
- Redirect the patient’s breath — have them breathe out slowly through the nose, or hold their breath for the brief moment of capture.
- Blow a gentle stream of air from the three-way syringe across the mirror face as you shoot, keeping the surface clear.
These become one smooth, practiced motion. The photographers who never seem to fight fog aren’t lucky; they’ve simply made warming and air a reflex rather than an afterthought.
Retraction and the far corners
A mirror can only reflect what light reaches it. If the cheeks or tongue crowd the field, the posterior teeth fall into darkness and the arch looks truncated. Firm, comfortable retraction — a mirror used partly as a retractor, or a dedicated retractor paired with the mirror — opens the vestibule so the flash can rake across the entire occlusal table.
Pay special attention to the terminal molars. They are the first to be lost and often the most clinically interesting, carrying the heaviest wear and the oldest restorations. If your occlusal views consistently stop at the first molar, the problem is almost always retraction and mirror depth, not the camera.
Focus, aperture, and the plane of sharpness
An arch is not flat; it curves in three dimensions, and the reflected optical path is longer than it looks. That combination punishes a wide-open aperture. Stopping down — a smaller aperture for greater depth of field — keeps both the anterior and posterior teeth acceptably sharp in the same frame. As with any macro dental work, there is a trade-off with diffraction and light, a balance we examined in the geometry of a sharp image. Focus on the premolar region as your anchor plane, and let the extra depth of field carry the rest.
The habits that make it repeatable
The difference between a clinician who dreads the occlusal view and one who nails it every time is a short, unglamorous checklist performed the same way each session:
- Clean, dry, warmed mirror in hand before the patient opens.
- Patient reclined, chin up, arch presented toward the ceiling.
- Camera axis fixed above; mirror tilted to square the frame.
- Air stream on, breath managed, capture in the clear window.
- Review the far molars immediately — reshoot before moving on, never after.
Done consistently, the occlusal view stops being a gamble and becomes what it should be: a dependable, high-value record you can compare visit to visit. The same standardized rigor that makes a fused scan and radiograph so powerful applies here — consistency is what turns a single pretty image into a diagnostic tool.
Future developments
Mirror photography is quietly being reimagined. Intraoral scanners already generate a synthetic occlusal view from 3D data, free of fog and reflection, and computational photography is beginning to correct lateral reversal and mirror distortion automatically. Yet even as the tools evolve, the underlying craft endures: understanding how a plane is presented to a lens, and how light must reach it. The clinician who has mastered the humble mirror shot will be the one who gets the most from whatever captures the biting surfaces next — because they already know, precisely, what a true occlusal view is supposed to show.
Sorry, the comment form is closed at this time.